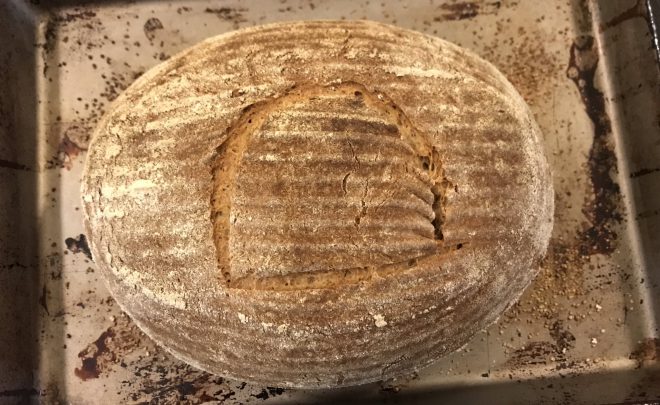
You can bake a sourdough corn bread like this, too. our 4-part series on baking with sourdough starts here.
People have relied on wild yeasts to ferment their bread doughs, beer, and wine for thousands of years. By contrast, commercial yeast has only been around for about 100 years. It only became possible to culture specific strains of yeast after Louis Pasteur discovered how yeast works. While commercial yeast yields safe, predictable beer and wine, sour dough breads, with their delicious tang, still work beautifully in a modern kitchen.
What you need is a starter, a batter-like mix of fermented flour and water. It takes minutes to start your starter, and once you’re sure it’s viable, you’ll master the simple breadmaking techniques by which people have lived since the very earliest times. How locavore can you get?
THE STARTER
Start by thoroughly washing a 2-cup capacity glass or ceramic jar with hot water. A mayonnaise jar is fine. While it’s still hot, put a wooden or stainless steel spoon in it and pour some boiling water into it to fill it up. Allow to cool to warm, then empty it and it’s ready for use as the starter crock.
Metal containers react with the acidity of the starter and can spoil it; wooden ones may harbor bacteria that will spoil the starter. Glass is best, but I’ve used ceramic too, and food-grade plastic in a pinch.
Mix 1 cup of lukewarm water with 1 cup flour (unbleached white or whole wheat) in your starter jar. Mix with your scalded spoon (it doesn’t matter what the spoon is made of as its contact with the starter is brief). You’ll get an even mix if you put the water in the jar first and add the flour to it.
Cover the jar with a paper napkin or paper towel, or a thin, freshly-laundered cloth. Use a rubber band to secure it, if necessary. You don’t want insects getting in and spoiling the the starter. Place the jar someplace warm.
Stir the starter once or twice a day for 2 days. You don’t have to scald your spoon each time, just use a very clean one.
On the third day, dump out half the starter. That’s 1 cup. Replace what you threw out with 1/2 cup fresh flour mixed with 1/2 cup water. This is “feeding” the starter. Yeasts feed on the sugars in the flour, reproduce, then die out. To keep a good, strong yeast colony going, you must get rid of excess dead yeast and “feed” the starter with fresh material every so often.
Dump and replace as above every 24 hours for the next 2-3 days.Yeast activity will be evident by bubbles rising to the surface. The starter will start to smell sour, but pleasantly so, or somewhat alcoholic. The color might change to darker, or a thin layer of dark water form on top – that’s OK. Just stir everything up well. Once it’s nice and active, with a frothy top, you can start baking.
A word about purchased sourdough starters. You may purchase a yeast starter which originated in San Francisco, Russia, or France, but over time your exotic starter will attract the local yeasts floating around in the air of your kitchen and mutate into a starter unique unto its locale.
Learn the care and feeding of the starter, on Part II of the Green Prophet sourdough series, here.
More natural eating on Green Prophet:
- Israel Food Chemist Answers Nutrition Questions Online (English)
- Software for Managing an Organic Farm
- Locavore Indulgence: Home-Made Strawberry Jam
Author: Miriam Kresh
Miriam Kresh is an American ex-pat living in Israel. Her love of Middle Eastern food evolved from close friendships with enthusiastic Moroccan, Tunisian and Turkish home cooks. She owns too many cookbooks and is always planning the next meal. Miriam can be reached at miriam (at) greenprophet (dot) com.

